Start here#
A MeshCam node is a solar trail camera that sends its photos over its own long-range radio mesh. No cell plan, no Wi-Fi in the woods. A gateway at the house pushes the images to the app.
We sell the board. You build the node. This guide is how.
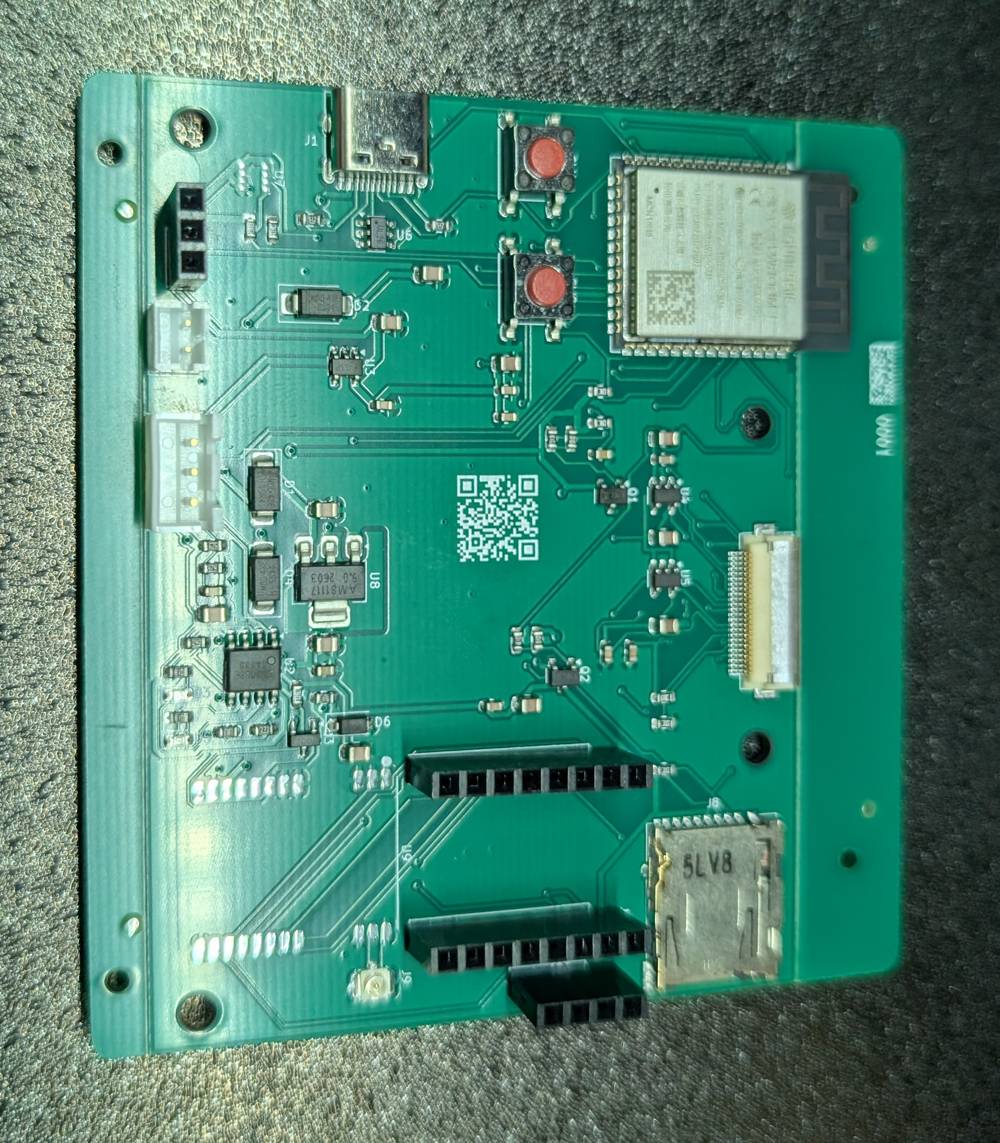
What you are building#
The leaf board arrives flashed, tested, and with its antenna in the box. You add a camera module, a motion sensor, a weather sensor, a battery cell, a solar panel, a microSD card, and an outdoor box to put it all in. The finished node sleeps on a tree, wakes when something walks past, takes a photo, and radios it home.
Nothing in this guide needs a soldering iron. Every connection is a plug. The only tools you need are for the box: a drill, a step bit, a knife, and a tube of silicone.
How long it takes#
About an hour at the bench, plus a day in a sunny window to charge the cell, plus an overnight cure for the silicone before the node goes outside.
The order matters#
The chapters run in build order, and the order is deliberate:
- Parts list. What is in the box, what you buy, and what to avoid.
- Battery and solar. Fit the cell first and let the sun charge it. The board is not USB-powered; USB is an optional top-up, not the first step.
- First boot. Plug in the modules, insert the card, and watch the node join the mesh.
- Deploying. Drill the box, seal it, mount it.
- Troubleshooting. What the lights mean, and the few things that go wrong.
If you get stuck#
Every page of this guide lives in a public repository. If a step is wrong or unclear, open an issue there and we fix it for everyone. For a board that will not come to life at all, read the dead-on-arrival check in Troubleshooting and email hello@getmeshcam.com with the serial number on the board.